Google launches Android 2.2 SDK - V3.co.uk - formerly vnunet.com
Hmm... a new version of the SDk is out! The article above highlights one of the features - the ability to move applications to SD Card thus giving more space for mote applications to be accommodated on an Android mobile. This is a minor release and yet there are quite a few noteworthy features, some of them listed below: 1. Multiple keyboard languages - a user can switch between languages by swiping across the spacebar 2. The android mobile can be used as a protable Wi-Fi hotspot from which 8 devices can connect. 3. The camera and gallery have been enhanced with a new UI for controlling zoom, focus, flash, exposure etc. 4. Some of the new platform technologies introduced are a new media framework - Stagefright and bluetooth enhancements 5. For the developers. there are some new APIs introduced in Apps on external storage, Media framework, Camera and camcorder, graphics, data backup, device policy manager and UI framework.
For more details on the above, read the article: Android 2.2 Platform Highlights
Posted by Darrell Kuhn, Technical Program Manager, Google Drive plug-in
(Cross-posted on the Google Drive Blog.)
With Google Drive, you can keep all your important files in one place, then open them with your choice of apps and devices. Building on this open approach, we recently made it possible to launch your favorite desktop applications directly from Google Drive. And today we’re taking it a step further by bringing Google Drive to Microsoft Office.
Using the new Google Drive plug-in, people using Office for Windows can now open their Word, Excel and PowerPoint documents stored in Drive, then save any changes back to Drive once they’re done.
If you’re working on a document, spreadsheet or presentation that’s on your computer, you can also save that file to Google Drive, directly from the Office apps. This is especially useful for sharing files with teams, or for accessing your files across devices.
With this plug-in, you can use the apps you’re already comfortable with, while benefitting from the security and convenience of Google Drive.
This example inspired by the BBC video "Trick your brain: black and white photo turns to colour! - Colour: The Spectrum of Science".
Load your photo, touch the ImageView to display the image of opposite color, look on the blue dot concentratedly for a moment, then release touch to display the black and white image. MAY BE you will be tricked with a color image. try it:)
View.OnClickListener buttonOpenOnClickListener = new View.OnClickListener() { @Override public void onClick(View v) { Intent intent = new Intent(); intent.setAction(Intent.ACTION_OPEN_DOCUMENT); intent.addCategory(Intent.CATEGORY_OPENABLE); intent.setType("image/*"); startActivityForResult(intent, RQS_OPEN); } };
@Override protected void onActivityResult(int requestCode, int resultCode, Intent data) { if (resultCode == RESULT_OK && requestCode == RQS_OPEN) { Uri dataUri = data.getData(); int w = imageView.getWidth(); int h = imageView.getHeight();
//hide ui control and action bar to make more space for the picture panel.setVisibility(View.GONE); getSupportActionBar().hide(); } catch (FileNotFoundException e) { e.printStackTrace(); Toast.makeText(MainActivity.this, e.getMessage(), Toast.LENGTH_LONG).show(); } } }
private Bitmap getGrayscale(Bitmap src){
//Custom color matrix to convert to GrayScale float[] matrix = new float[]{ 0.3f, 0.59f, 0.11f, 0, 0, 0.3f, 0.59f, 0.11f, 0, 0, 0.3f, 0.59f, 0.11f, 0, 0, 0, 0, 0, 1, 0,};
Bitmap dest = Bitmap.createBitmap( src.getWidth(), src.getHeight(), src.getConfig());
Canvas canvas = new Canvas(dest); Paint paint = new Paint(); ColorMatrixColorFilter filter = new ColorMatrixColorFilter(matrix); paint.setColorFilter(filter); canvas.drawBitmap(src, 0, 0, paint);
return dest; }
private Bitmap getOpposite(Bitmap src){
int w = src.getWidth(); int h = src.getHeight();
Bitmap dest = Bitmap.createBitmap(w, h, src.getConfig());
for (int y = 0; y < h; y++) { for (int x = 0; x < w; x++) { int pixel = src.getPixel(x, y); int oppPixel = Color.argb( Color.alpha(pixel), 255-Color.red(pixel), 255-Color.green(pixel), 255-Color.blue(pixel)); dest.setPixel(x, y, oppPixel); } }
return dest; }
/* reference: Load scaled bitmap http://android-er.blogspot.com/2013/08/load-scaled-bitmap.html */ private Bitmap loadScaledBitmap(Uri src, int req_w, int req_h) throws FileNotFoundException {
Bitmap bm = null;
// First decode with inJustDecodeBounds=true to check dimensions final BitmapFactory.Options options = new BitmapFactory.Options(); options.inJustDecodeBounds = true; BitmapFactory.decodeStream(getBaseContext().getContentResolver().openInputStream(src), null, options);
// Decode bitmap with inSampleSize set options.inJustDecodeBounds = false; bm = BitmapFactory.decodeStream( getBaseContext().getContentResolver().openInputStream(src), null, options);
return bm; }
public int calculateInSampleSize(BitmapFactory.Options options, int reqWidth, int reqHeight) { // Raw height and width of image final int height = options.outHeight; final int width = options.outWidth; int inSampleSize = 1;
if (height > reqHeight || width > reqWidth) {
// Calculate ratios of height and width to requested height and // width final int heightRatio = Math.round((float) height / (float) reqHeight); final int widthRatio = Math.round((float) width / (float) reqWidth);
// Choose the smallest ratio as inSampleSize value, this will // guarantee // a final image with both dimensions larger than or equal to the // requested height and width. inSampleSize = heightRatio < widthRatio ? heightRatio : widthRatio; }
return inSampleSize; }
}
Custom view to display a blue dot on screen, BlueDot.java
@Override protected void onDraw(Canvas canvas) { super.onDraw(canvas); int w = canvas.getWidth(); int h = canvas.getHeight(); canvas.drawCircle(w/2, h/2, 25, paint); }
geby21.blogspot.com - WTH - This Tank Driver Is Just Stupid See What He Just Do This Tank Driver Is Just Stupid See What He Just Do Next - Watch Full Just watch video of this stupid driver and WTH - This Tank Driver Is Just Stupid See
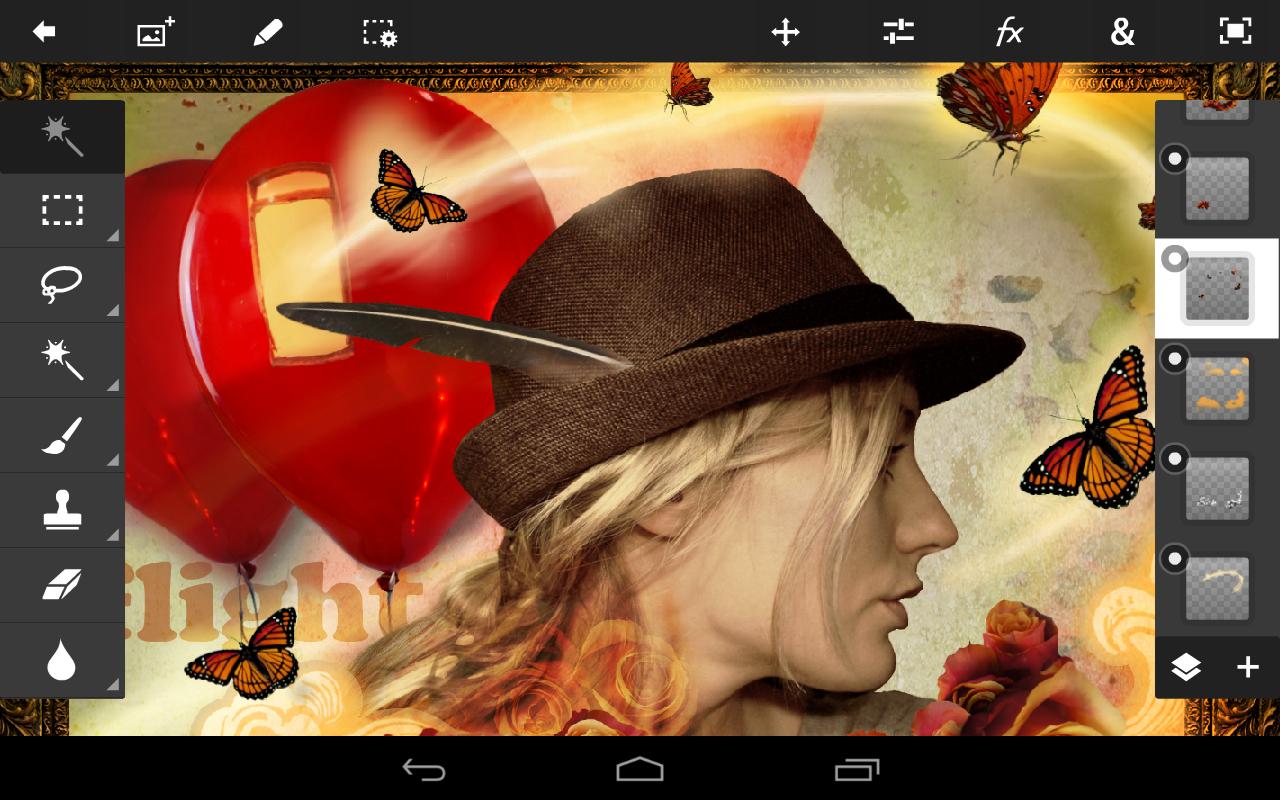
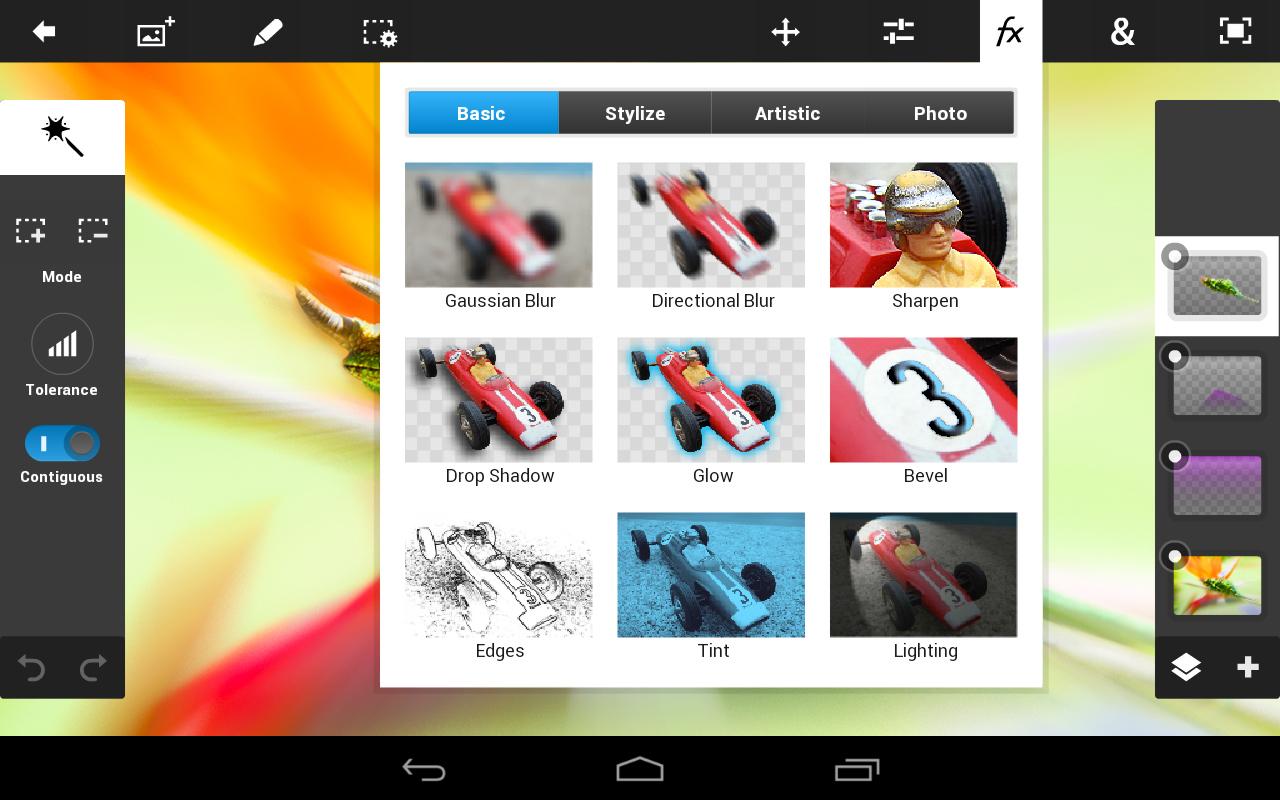
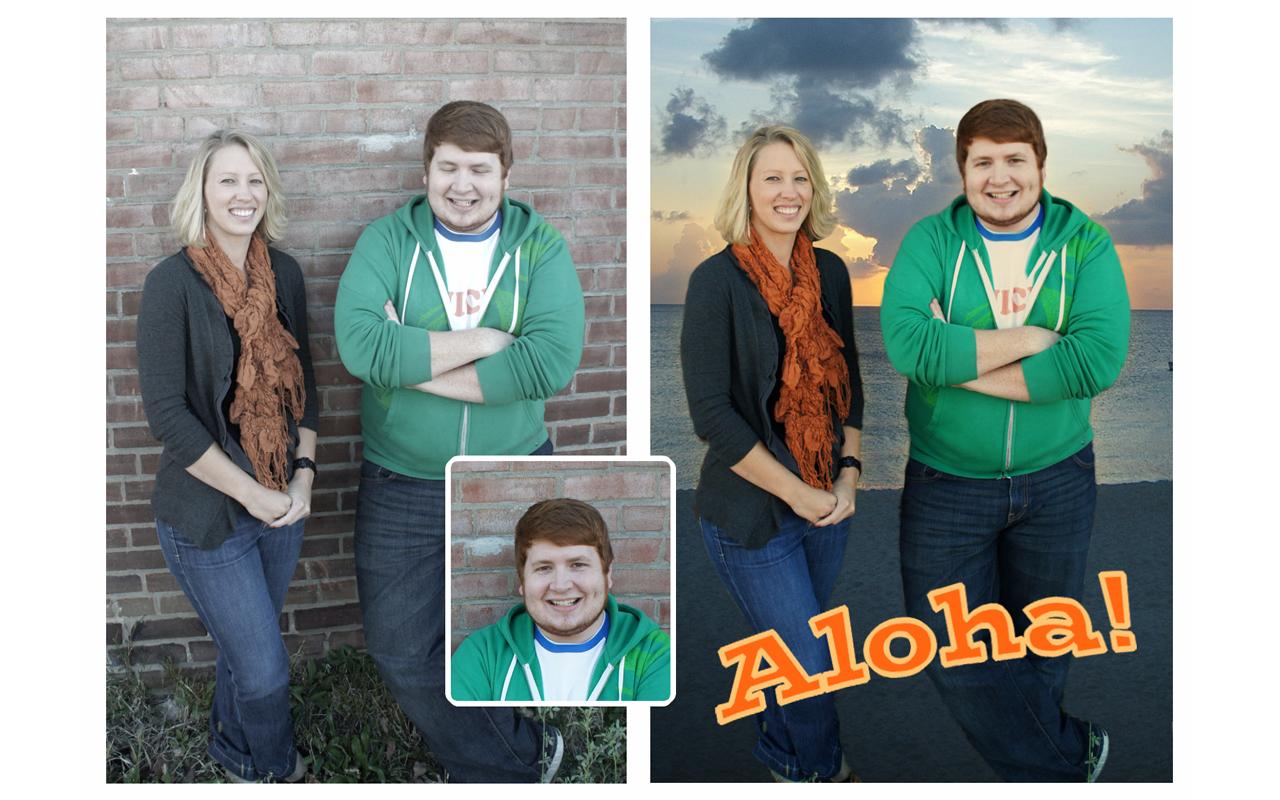
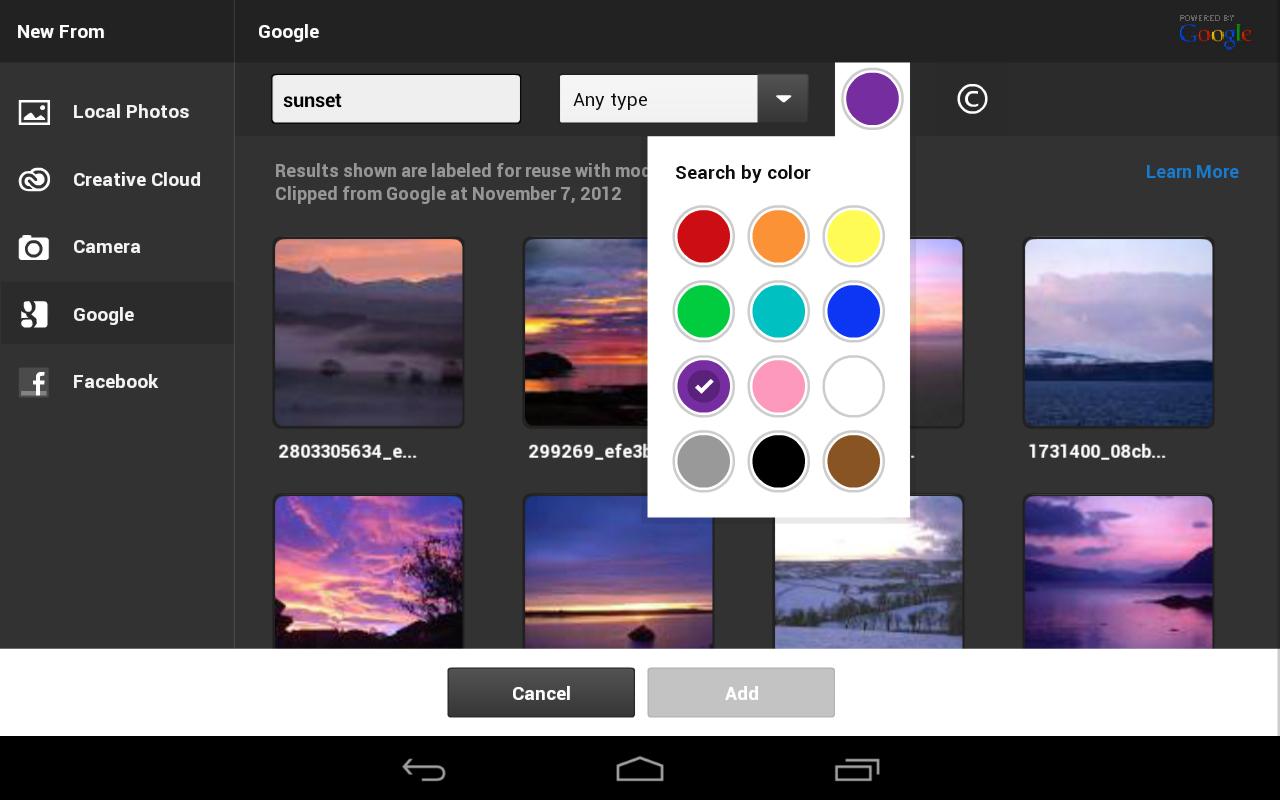
Adobe PhotoshopAdalah Software terpopuler dalam kategori edit foto versi PC, hampir setiap perangkat komputer / laptop / netbook dll yang ber-OSkan windows terinstall Adobe Photoshop didalamnya. Kini hadir Adobe Photoshop Touch dalam versi androidnya, fungsinya pun masih sama yakni untuk aplikasi editing foto, bedanya dalam versi android, yakni penempatan dan cara penggunaan tool-tool ukup dengan sentuhan jari (finger print), so sekarang anda tidak usah repotrepot mengedit foto secara detil dalam komputer / laptop, di perangkat android yang anda bawa seharihari pun bisa.
Yang Baru Ver 1.6.1 Update 28 Mei 2014
• Fixed issues with saving / sharing a document
• Improved feathering of soft brushes
• Improved visibility of brush cursor on dark backgrounds
• Several other bug fixes
Screenshots
Developer : Adobe Systems
License / Price : 116.000
Size : 46mb Size / OS : Android 3.1 and up Last Updated : 28 Mei 2014 Lihat di : Google Play
Continuing observations regarding the new HTC Sense 7.0 features its time to take a look at another very interesting aspect of the new HTC user interface - the Priority Ringtones. Priority Ringtones probably replaced the "DND" (Do Not Disturb) function as I cant find it any more in the Quick Settings menu. So how does it work?
To configure the Priority Ringtones you need use volume buttons. The volume slider UI is similar to the one known from the HTC Sense 6.0, however at the bottom of the box you can find 3 new buttons - "NONE", "PRIORITY" and "ALL". Volume settings menu after clicking the settings icon on the right part of the box looks exactly the same as in previous Sense version.
None
Using the first option - "NONE" simply means you will receive absolutely no sound notifications. Not even the alarms. In that mode your device is not allowed to give any sound. You can set this mode to be active for a particular time (15min, 30 min, 45 min, 1h, 2h, 3h, 4h, 8h) or indefinitely, meaning it will be active as long as you disable it.
Priority
In Priority mode you can basically choose what type of events, reminders, calls or messages (and from who) are allowed to interrupt you. You can choose to receive calls or messages from everyone, contacts only or favourite contacts only. You can also configure the days the priority mode is enabled by default (from Monday till Sunday) and hours - start hour and end hour.
All
The "ALL" mode simply means you will receive every kind of notification. In this mode everything gives a sound - alarm, phone call, message, notification, reminder etc. This mode is enabled by default.
If by any chance you havent yet read my previous HTC Sense 7.0 related articles heres a short reminder:
HTC Sense 7.0 - Wallpapers
HTC Sense 7.0 - Custom Navigation Bar
HTC Sense 7.0 - Themes Generator
HTC Sense 7.0 - Sense Home with Smart Folders
HTC Sense 7.0 - Photo Editor
Do you have any questions or comments? Feel free to share! Also, if you like this article, please use media sharing buttons (Twitter, G+, Facebook) below this post!
For latest news follow Android RevolutionHD on popular social platforms:
Mobile app usage has grown 90% in the past two years and contributes to 77% of the total increase in time spent in digital media. People intuitively turn to mobile devices for information and entertainment, typically spending 37 hours per month in apps. This shift in the consumer mobile experience presents a significant opportunity for increased engagement and monetization for publishers with apps.
To help you effectively capture this mobile opportunity, we’ve gathered our most actionable research and best practices for reaching, engaging, and monetizing app audiences.
Learn something new and want to know more? For more details on our four strategies for app success, review the DoubleClick for Publishers ‘Mobile Bootcamp’ blog series on growing app audiences, engaging users, ensuring high app quality, and effectively monetizing.


 Download APK to try.
 Read more »